I know this is a long post but I needed to have the recipes and amounts I use written down so that I don't forget the next time I do a cake.
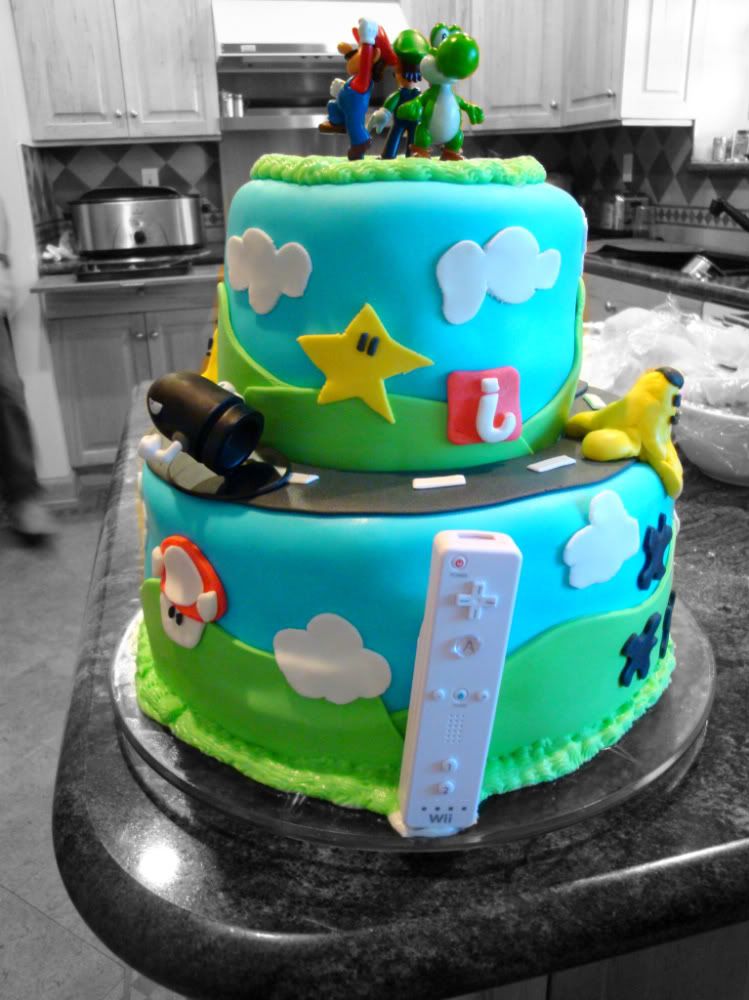
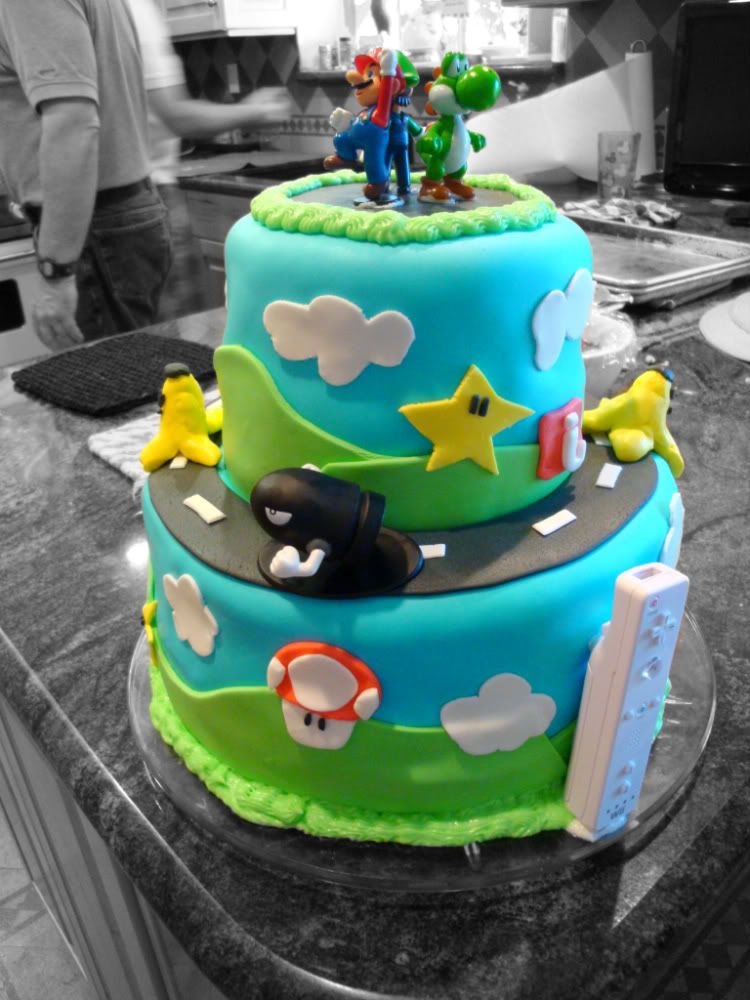
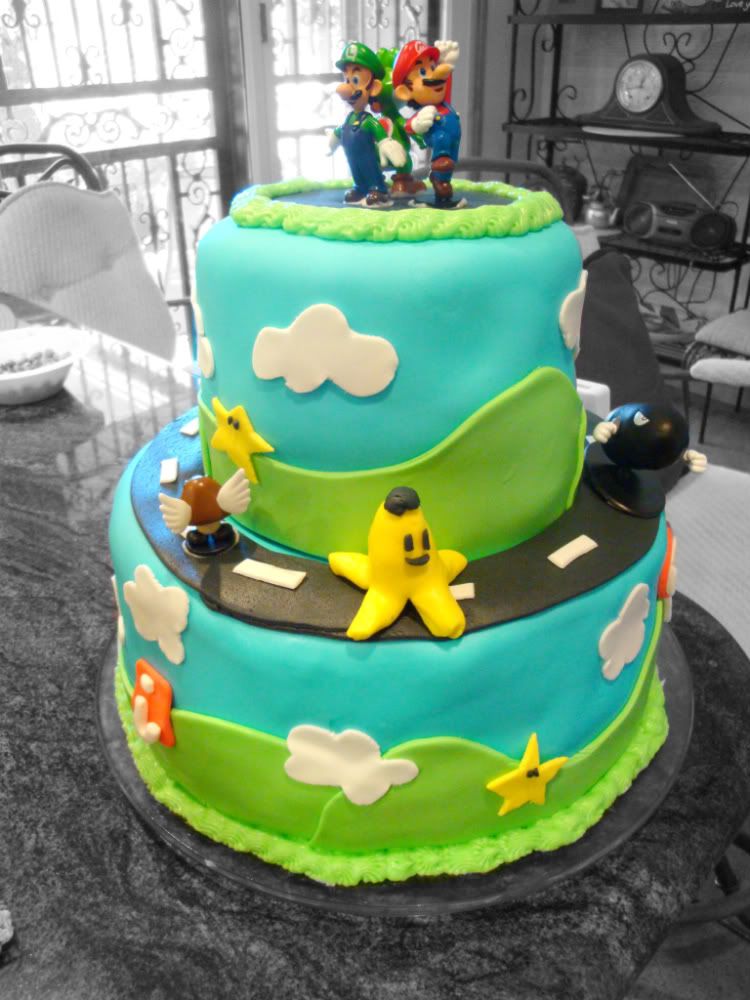
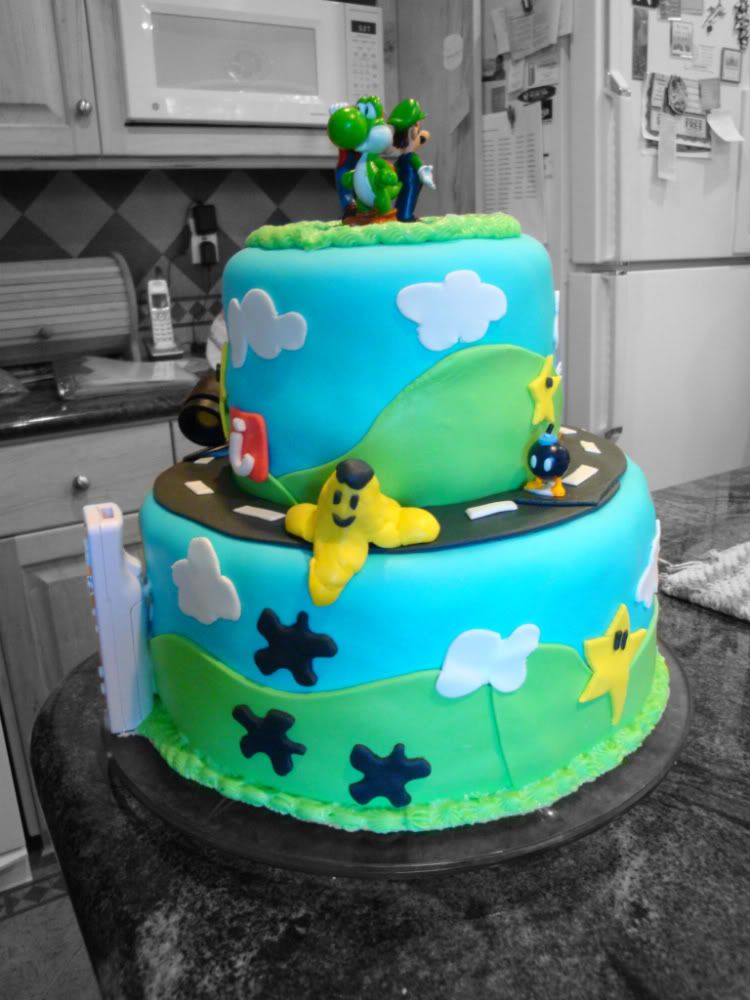
This is a cake I made for Kaleb's 6th birthday and although it was very rushed and I didn't have very much time it still turned out pretty good.
This is a cake I made for Kaleb's 6th birthday and although it was very rushed and I didn't have very much time it still turned out pretty good.


This cake consisted of 4 layers of cake with a raspberry filling and cream cheese buttercream frosting. Then I covered the cake with fondant and decorated it. It’s been so long since I’ve done a big cake that I forgot how much cake batter and fondant I would need so after this cake I told myself I would write everything down.
(There's also a blog I look at that's doing a make-a-cake series and they have pictures and instructions on fondant and cakes.)
(There's also a blog I look at that's doing a make-a-cake series and they have pictures and instructions on fondant and cakes.)
The Cake:
I used a 10-inch and a 6-inch cake pan. My cake pans are 3 inches deep. I decided I would try the cake mix route to not only save money but a lot of time.
I mixed up 2 cake mixes and it filled both of my pans halfway which is the most you want to put in a pan. I put them in the oven together at 300 degrees convection (325 if not using convection) for 60 minutes pulling the 6-inch cake pan out of the oven after 45 minutes. Be sure to grease your pans and for the 10-inch pan I put parchment paper in the bottom to make sure it doesn’t stick and tear the cake. I then mixed up 2 more cake mixed and made 2 more layers for the cake.
After they’ve cooled completely wrap in plastic wrap. Depending how early you make the cakes you can freeze them. This helps you get a moist cake although I don’t think with a boxed cake mix this is an issue because they’re so moist already. I made my cakes the night before so I didn’t freeze them this time.
Raspberry Filling:
I tried making my own filling with my own recipe (using a couple other recipes as guidelines) and it turned out awesome. It made more than I needed so I took the extra with us so people could add more to their cake if they wanted.
2 bags of frozen raspberries
2 t. lemon juice
1 c. sugar
1/2 c. corn starch
2 c. water
2 t. lemon juice
1 c. sugar
1/2 c. corn starch
2 c. water
In large saucepan, combine raspberries, lemon juice, sugar, cornstarch and water; mix well. Heat and stir until mixture boils and thickens. Strain the sauce to get rid of the seeds. Cool completely. Makes about 4 cups of filling. (This would taste great piped into the center of cupcakes as a filling or for a donut filling.)
Cream Cheese Butter Cream Frosting
I love this frosting. It’s the best of both worlds combining cream cheese frosting with butter cream frosting. The only downside is that you need to keep it refrigerated and so I haven’t used it on wedding cakes since you usually aren’t the one taking the leftovers home. But other than that I won’t ever use any other frosting than this one.
4 lbs. powdered sugar (2 bags)
2/3 c. water
8 oz. cream cheese (1 block)
¾ c. butter (1 ½ sticks)
1 c. vegetable shortening
Add all of the ingredients except powdered sugar to your mixer. Mix until combined. Add powdered sugar a couple of cups at a time and mix well until it’s smooth and creamy. Makes 12 cups. (This was the perfect amount for this cake, after the small amount of piping on the cake I had about 1 ½ c. left. I’m also very generous when I frost my cakes and put a lot of frosting on them especially when you have a cake this thick.)
Assemble the Cake:
Level out the top of each layer of cake so that your cake sits flat. Place a spoonful of frosting on your cake plate and place the bottom layer down. I then pipe a ring thick ring of frosting around the edge of the cake layer to create a dam so the filling doesn’t run down the cake. It also helps so that when you frost the cake you don’t mix filling in the frosting and the crack is already filled with frosting. Spread a thick layer of filling on the cake. Then take the next layer and place it cut side down on top of your first layer. You don’t want to have to try to frost the cut part or it would be a crumby mess. Then frost the whole cake.
Repeat with the second layer of cake. I invert my cake pan (6-inch) and assemble the small cake on top of it. This makes it easier when it comes time for fondant. Place both cake layers in the fridge after they’re frosted.
Rolled Marshmallow Fondant
Buying fondant is expensive and it doesn’t taste gross. You can make a standard homemade fondant (like what you would buy in the store) but the ingredients aren’t pantry staples so there are some added cost or you can make the marshmallow fondant which is softer and easier to work with. Plus, it’s not expensive to make and only takes a couple of ingredients.
1 package (16 oz) white mini marshmallows (use a good quality brand) (The bags at the store are only 10 oz. so I used 1 ½ bags per batch)
2-5 T. water
2 lbs. (8 c. or 1 bag) powdered sugar
½ c. vegetable shortening
2-5 T. water
2 lbs. (8 c. or 1 bag) powdered sugar
½ c. vegetable shortening
To make marshmallow fondant, place marshmallows and 2 tablespoons of water in a microwave-safe bowl. Microwave 30 seconds on high; stir until mixed well. Continue microwaving 30 seconds more; stir again. Continue until melted (about 2 minutes).
Place 3/4 of the confectioners' sugar on top of the melted marshmallow mixture. Fold sugar into marshmallow mixture. Flavoring can be added at this point if desired. Place solid vegetable shortening in easily accessed bowl so you can reach into it with fingers as you are working. Grease hands and counter GENEROUSLY; turn marshmallow mixture onto counter. Start kneading like you would dough. Continue kneading, adding additional confectioners' sugar and re-greasing hands and counter so the fondant doesn't stick. If the marshmallow fondant is tearing easily, it is too dry; add water (about 1/2 tablespoon at a time) kneading until fondant forms a firm, smooth elastic ball that will stretch without tearing, about 8 minutes.
It's best to allow Marshmallow Fondant to sit, double-wrapped, overnight. Prepare the fondant for storing by coating with a thin layer of solid vegetable shortening, wrap in plastic wrap and then place in resealable bag. Squeeze out as much air as possible. Marshmallow Fondant will keep well in refrigerator for several weeks.
When not working with fondant, make sure to keep it covered with plastic wrap or in a bag to prevent it from drying out. When ready to use, knead fondant until smooth. Roll out fondant 1/8 in. thick.
To color fondant: If you need to tint the entire batch of fondant, add a little icing color to the melted marshmallow mixture before adding confectioners' sugar. For smaller amounts of tinted fondant, add icing color to portions of fondant as needed.
Makes about 2 lbs. of fondant
.
.
I made 2 batches of fondant for this cake. The first batch I tinted the melted marshmallow mixture sky blue and this fondant covered both of my cakes. The second batch I left white and then divided it into different pieces to color separately after the fondant was made. Use the gel food coloring because the liquid will mess up the fondant. If you don’t want brightly colored hands wear gloved when first mixing the coloring in the fondant. Once it’s mixed you don’t need gloves.
Covering the Cakes with Fondant:
Grease your surface and rolling pin and roll the fondant out to the size you need. Measure the sides of the cake and top to see how big of a circle you need. For a big piece of fondant it’s easier if you have 2 people and you drape it over your hands and place it centered on the cake. This time I was alone and so I couldn’t pick it up without it tearing so I folded the fondant in half and then fourths (like you would a pie crust when you’re putting it in the pan) and placed it on the cake and unfolded it. The only thing about doing this was I had a small crease in the fondant where it was folded in half but it wasn’t very noticeable. You also want your cake elevated when applying the fondant so the extra drapes over the sides. This makes it easier to smooth out. You can use your hands or a fondant smoother. I watched a couple of videos on the internet to learn how to cover a cake with fondant. Also, to get fondant pieces to stick to fondant just dip your finger in water and rub it where you want the shape. The press it to the fondant and it will stick.
Cake Tools:
I have a fondant smoother and I just bought a fondant roll and cut mat. I use my wood rolling pin but they do have fondant rolling pins you can buy. They probably are easier to use but I don’t want to spend $20 if I don’t have to. You can buy the supplies at Wal-Mart, Roberts and Michael’s. Wal-Mart is the cheapest unless you use coupons. Just look in the craft section at their decorating stuff. I buy my disposable piping bags and food coloring there too. For more specific colors or supplies Gygi’s is the best store.
Next time I will plan better and buy cookie cutters in the basic shapes I need (stars, clouds) because it’s too time consuming and doesn’t look as sharp to cut out the shapes with a knife. And they only cost about 50 cents to buy. I also want to try to mix my filling with a cream cheese mixture to make a cream cheese fruit filling. I love the strawberry cream cheese filling in Costco cakes. And the biggest issue is that I need to plan more time! With the next cake I’ll be sure to have the cake cooked, assembled, frosted and the fondant made and colored the day before. Then you just have to cover cakes and decorate which is the most time consuming.